In this article we’ll walk through how to use Github Actions to automate regular deployment of a static site hosted on Netlify.
Why
This site (the one you’re reading right now) is a static site built with Eleventy. That means there’s no server building the pages on demand. Instead, every time I write a blog post in markdown and commit the file to the Github repository, the site is re-built — with Eleventy generating a static HTML page from my markdown file — and deployed on Netlify’s servers. Pretty cool, right?
In order to set up automated deployments you need to link your Github repository to your Netlify account, then configure your build settings — including the build command you want to use (e.g. npm run build), and the directory to publish from. This isn’t a tutorial on how to deploy a site to Netlify, but the docs have you covered if you’re new to it.
Webmentions
As things stand, the site will deploy every time I push to the main branch. Now, I recently implemented Webmentions on the site, so users can see if anyone has commented or shared the posts on Mastodon or Twitter. I thought it would be nice to do this without any client-side Javascript, by fetching all the webmentions at build time. Sia has a great in-depth article on implementing webmentions with Eleventy and Netlify if you’re interested in trying it yourself. Admittedly, I cheated somewhat and used the Eleventy webmentions plugin, which does a similar thing. Sia’s article is well worth a read regardless, as there are some handy tips in there, like creating custom filters for your templates.
So far so good, but what if I don’t update my website for a few days or longer (it’s been known to happen!)? I’d still quite like my mentions to be up-to-date. And here we finally come to the point of this article: we can use a Github action to trigger regular builds, which will cause new webmentions to be fetched, and the site to be deployed to Netlify.
How
If you don’t yet have a Netlify account, I recommend reading the docs to sign up, add your first site by linking a Github repository, and configure your build settings.
Create a build hook
Once we have all that, we need to create a build hook in Netlify. You can add a build hook in the ‘Build and deploy’ section of your site settings, giving it a name. I’m using NETLIFY_DAILY_BUILD in this case.
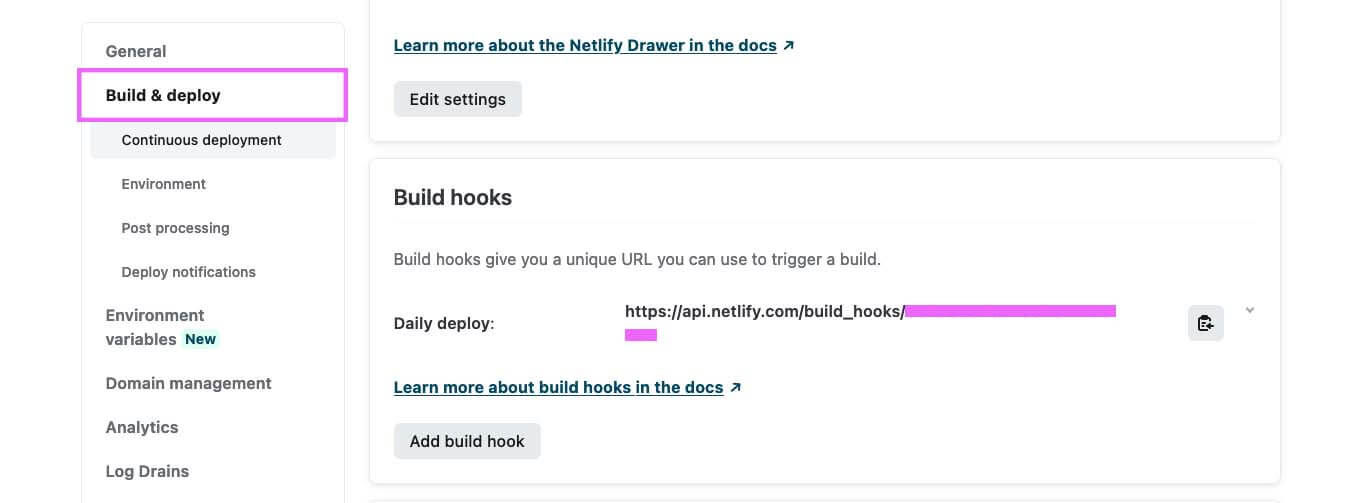
When you’ve created the build hook you’ll be given an API endpoint, including a unique token, which we’ll use in our Github action in a moment.
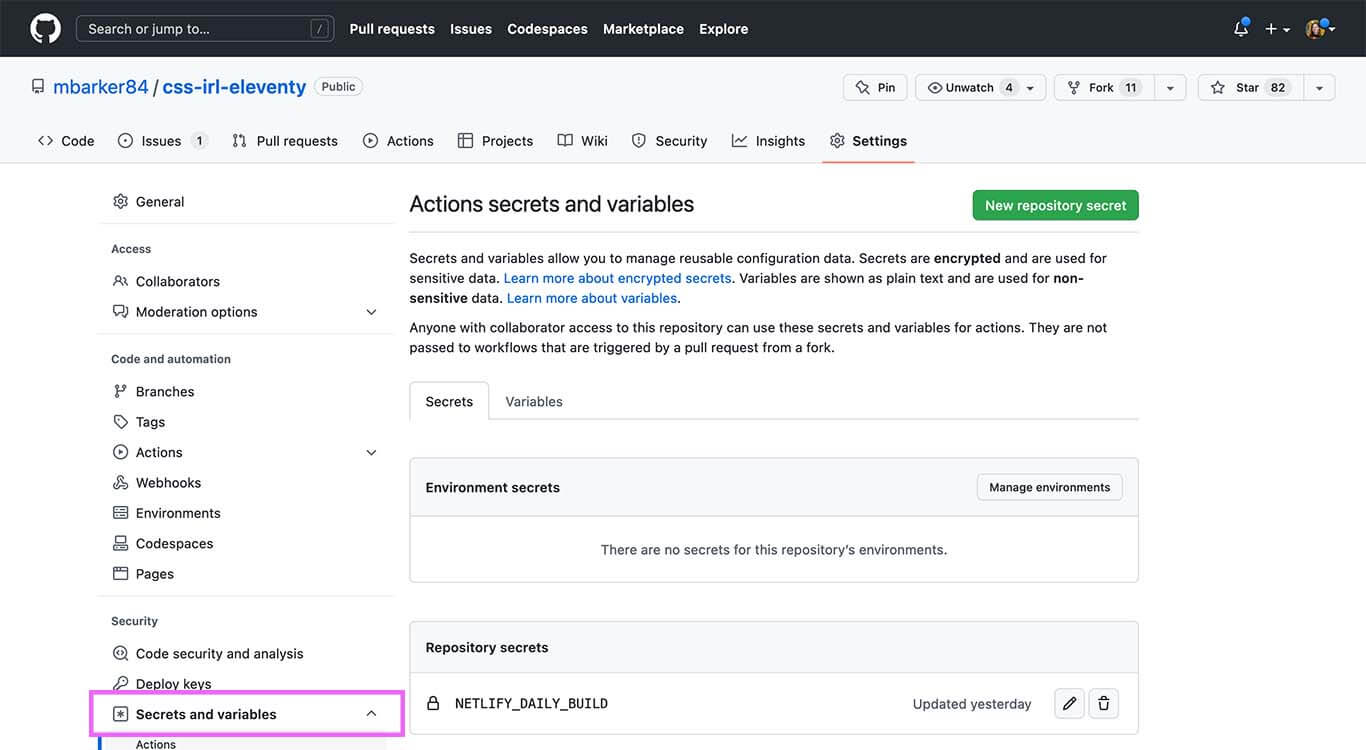
Create a Github secret token
Let’s hop on over to the Github repository. It’s good practice to store our token securely if our repository is public. We can store this in Github by creating a new secret for the repository with our Netlify build hook token as its value.
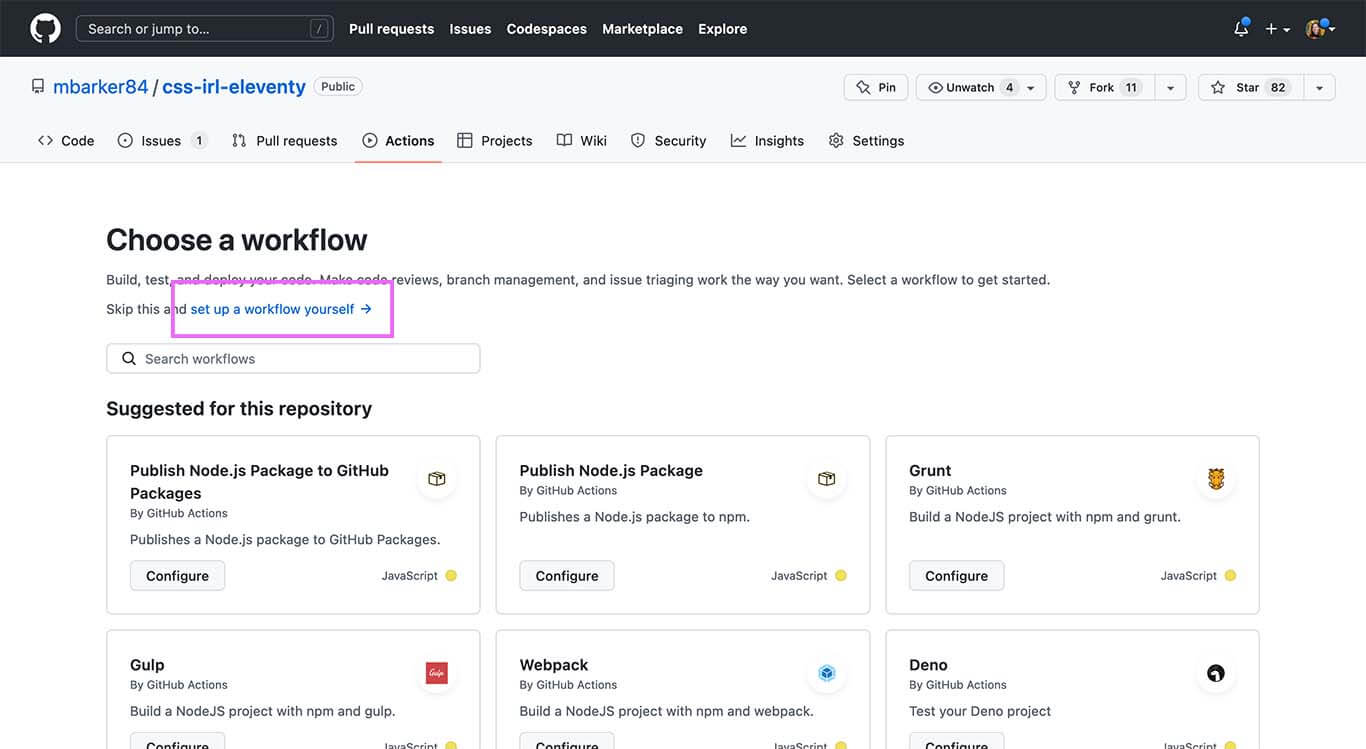
Set up a Github action
To set up a Github action, go to the “Actions” tab in your Github repository, and select “New workflow”. Github gives you a bunch of workflows to choose from, but we’ll need to create our own, so go to “set up a workflow yourself”.
This opens up a new Yaml file, where we’ll write the code for our action. Alternatively, you could create the file in the root of your project and commit it.
We can add the following code in order to trigger our daily build. You can customise the action name and step name(s) as desired.
name: Scheduled build
on:
schedule:
- cron: '0 9 * * *'
jobs:
build:
runs-on: ubuntu-latest
steps:
- name: Trigger our build webhook on Netlify
env:
TOKEN: ${{ secrets.NETLIFY_DAILY_BUILD }}
run: curl -X POST -d {} https://api.netlify.com/build_hooks/${TOKEN}The “schedule” option determines how often we want the build hook to run. 0 9 * * * dictates that the build should run at 9am every day. (The order is: minutes, hours, days, weeks, months.) If we want it to run more frequently than that, we could write 0 */6 * * * say, to run it every four hours. Crontab Guru can help you create custom expressions if you need something more complex.
The last step in the code is running the build hook by sending a POST request to the URL. We’re using the token from the secret we just created instead of copying the Netlify URL in its entirety, to prevent anyone accessing the URL and spamming it (which would eat up all our Netlify build allowance!). Don’t forget to substitute your own variable if you’ve called it something else.
Once you save the file and commit in to your repository, the daily build should run at the scheduled time.
Further reading
All this puts me in mind of a project by Phil Hawksworth a few years ago. Phil built a silly-but-fun site that would display the current time to the user without any client-side Javascript, by deploying to Netlify every minute.
Edge Functions
More recently, Phil updated this to use Edge Functions, a feature currently in beta on Netlify. (Read about it in this article.)
Edge Functions run on-demand, so we could run a function when the user visits the site and still deliver a pre-rendered page. It got me wondering whether we could fetch webmentions using an Edge Function, thereby delivering the very latest mentions pre-rendered to the user, without having to wait for a scheduled build. I have no idea whether this is sensible or not, but perhaps something to explore!
Webmentions for this page
About webmentionsLikes: 23
Reposts: 5
Mentions: 1
-
@michelle Ooh, I've just done something very similar, but didn't think to curl directly from the action…
I'll go tidy this up later.
- James Doc -
@michelle `nom run build` – I didn't know this build command 😉
- Christian Niklas
Nom nom! -
@websident Doh 🙈
- Michelle Barker -
@michelle Awesome! Nice work!
- Peter Goes -
@websident @michelle `alias nom="npm"`
- James Doc -
the redesign is super nice!
- Zev Averbach