Optimising SVGs (scalable vector graphics) for web projects has the dual benefits of reducing the file size and making them easier to work with. But plenty of times I’ve opened up a web project and found that SVG assets could be made significantly smaller with some straightforward optimisations. In this article I’ll share my process for optimising SVG assets, which may help you if you’re a designer or developer unfamiliar with working with SVG on the web.
I’ll assume that you’re already sold on the benefits of SVG over, say icon fonts or PNGs – but in case you’re not, here’s a handy article to persuade you.
Many icon libraries supply SVG assets that are already well-optimised. But if you’re creating your own graphics, or they are supplied by another designer, you might want to run them through a few optimisation steps. I mainly use Adobe Illustrator for creating and editing my SVGs. Here’s a fairly simple icon created in Illustrator (Fig 01):
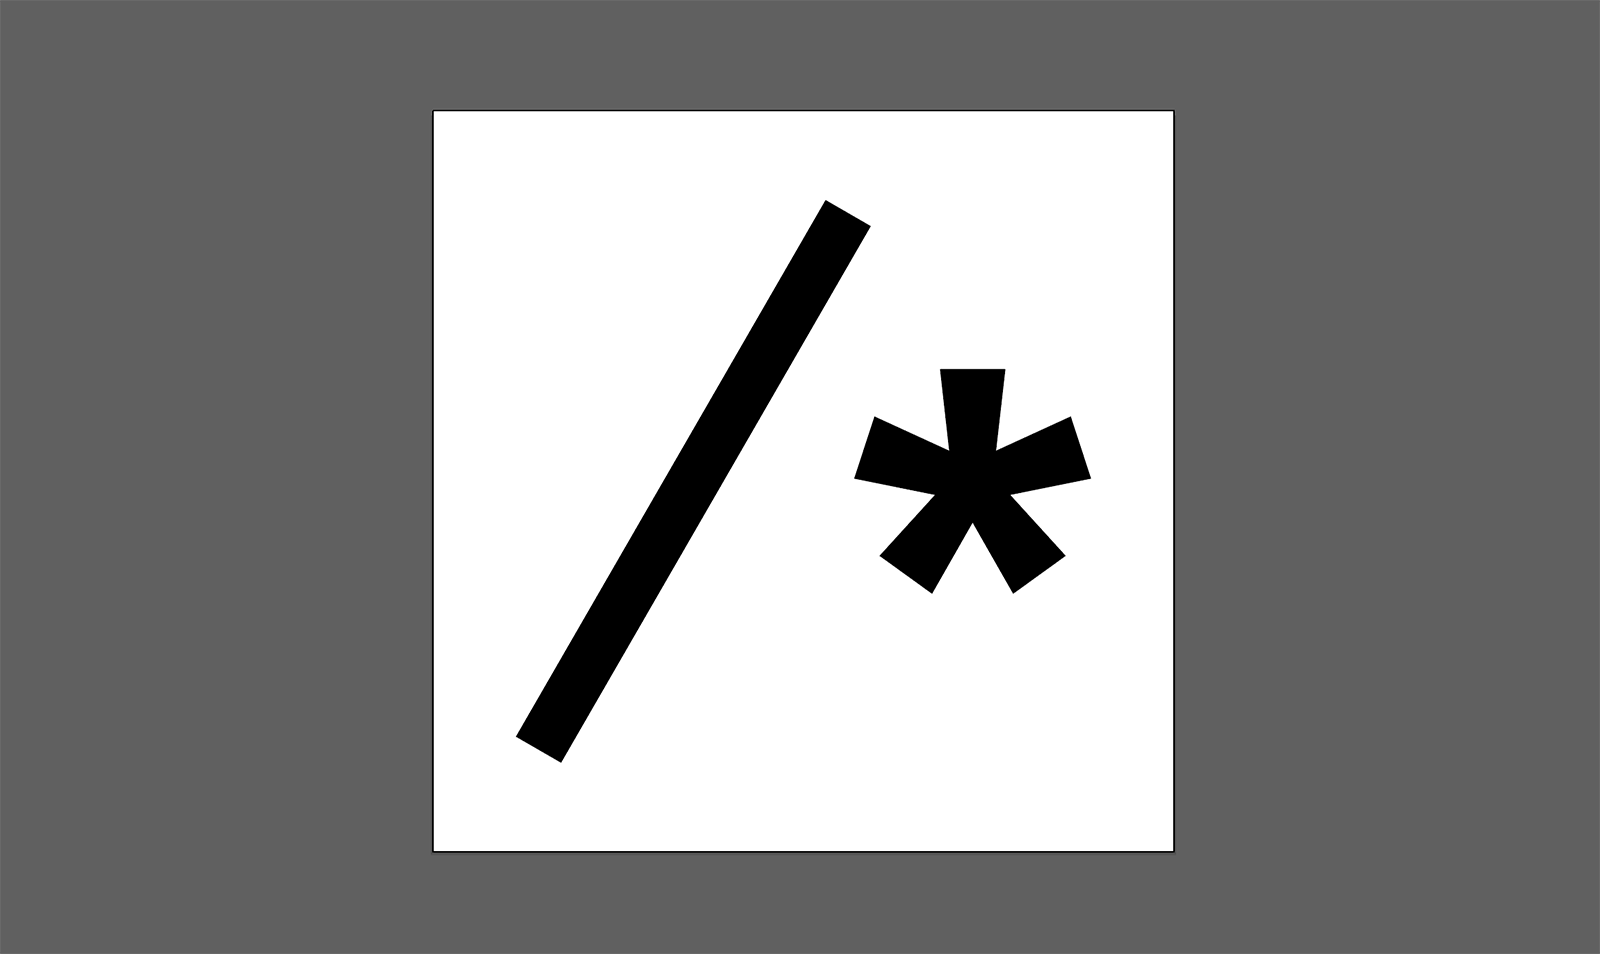
We can save this by going to File > Save as and selecting the “SVG” option. However, if we take a look at the code of our saved SVG, we’ll see that it is quite bloated. The code contains a lot of unnecessary data – groups that could be collapsed, paths that could be merged, metadata created by the program itself, and more:
<?xml version="1.0" encoding="utf-8"?>
<!-- Generator: Adobe Illustrator 22.1.0, SVG Export Plug-In . SVG Version: 6.00 Build 0)  -->
<svg
  version="1.1"
  id="Layer_1"
  xmlns="http://www.w3.org/2000/svg"
  xmlns:xlink="http://www.w3.org/1999/xlink"
  x="0px"
  y="0px"
  viewBox="0 0 800 800"
  enable-background="new 0 0 800 800"
  xml:space="preserve"
>
  <g>
    <path d="M90,675.6L424,97.1l48.5,28l-334,578.5L90,675.6z" />
    <path
      d="M547.6,279.3h70.2l-10.1,88.2l80.7-37l21.8,66.7l-87.3,17.6l59.9,65.8l-56.4,40.7l-43.8-76.8l-43.8,76.8l-56.4-40.7
		l59.9-65.8L455,397.2l21.8-66.7l80.7,37L547.6,279.3L547.6,279.3z"
    />
  </g>
</svg>
Every graphics program will have its own way of saving SVGs, but regardless of which one you use, they are still likely to contain a lot of extra data if left unoptimised. Let’s look at some ways to remove this and serve the smallest possible assets for our purpose.
Running a package
SVGO is an NPM package that runs an optimisation process on your SVG assets at build time, and it’s absolutely a good idea to make something like that part of your workflow. But a visual tool often does a better job of removing extra paths and groups, and allows us to adjust (and preview) our optimisation settings depending on the result we want.
A quick win with SVGOMG
One way to quickly remove a lot of this extraneous data is to run it through Jake Archibald’s tool, SVGOMG (Fig 02). You can either upload the SVG file or paste in the code directly and, depending on the options selected, your SVG will be greatly slimmed-down, without adverse visual impact. You might need to play around with the different options to get your desired result, especially if your SVG is quite complex, but I generally find that for simple icons I can check most of the options without adversly affecting the result.
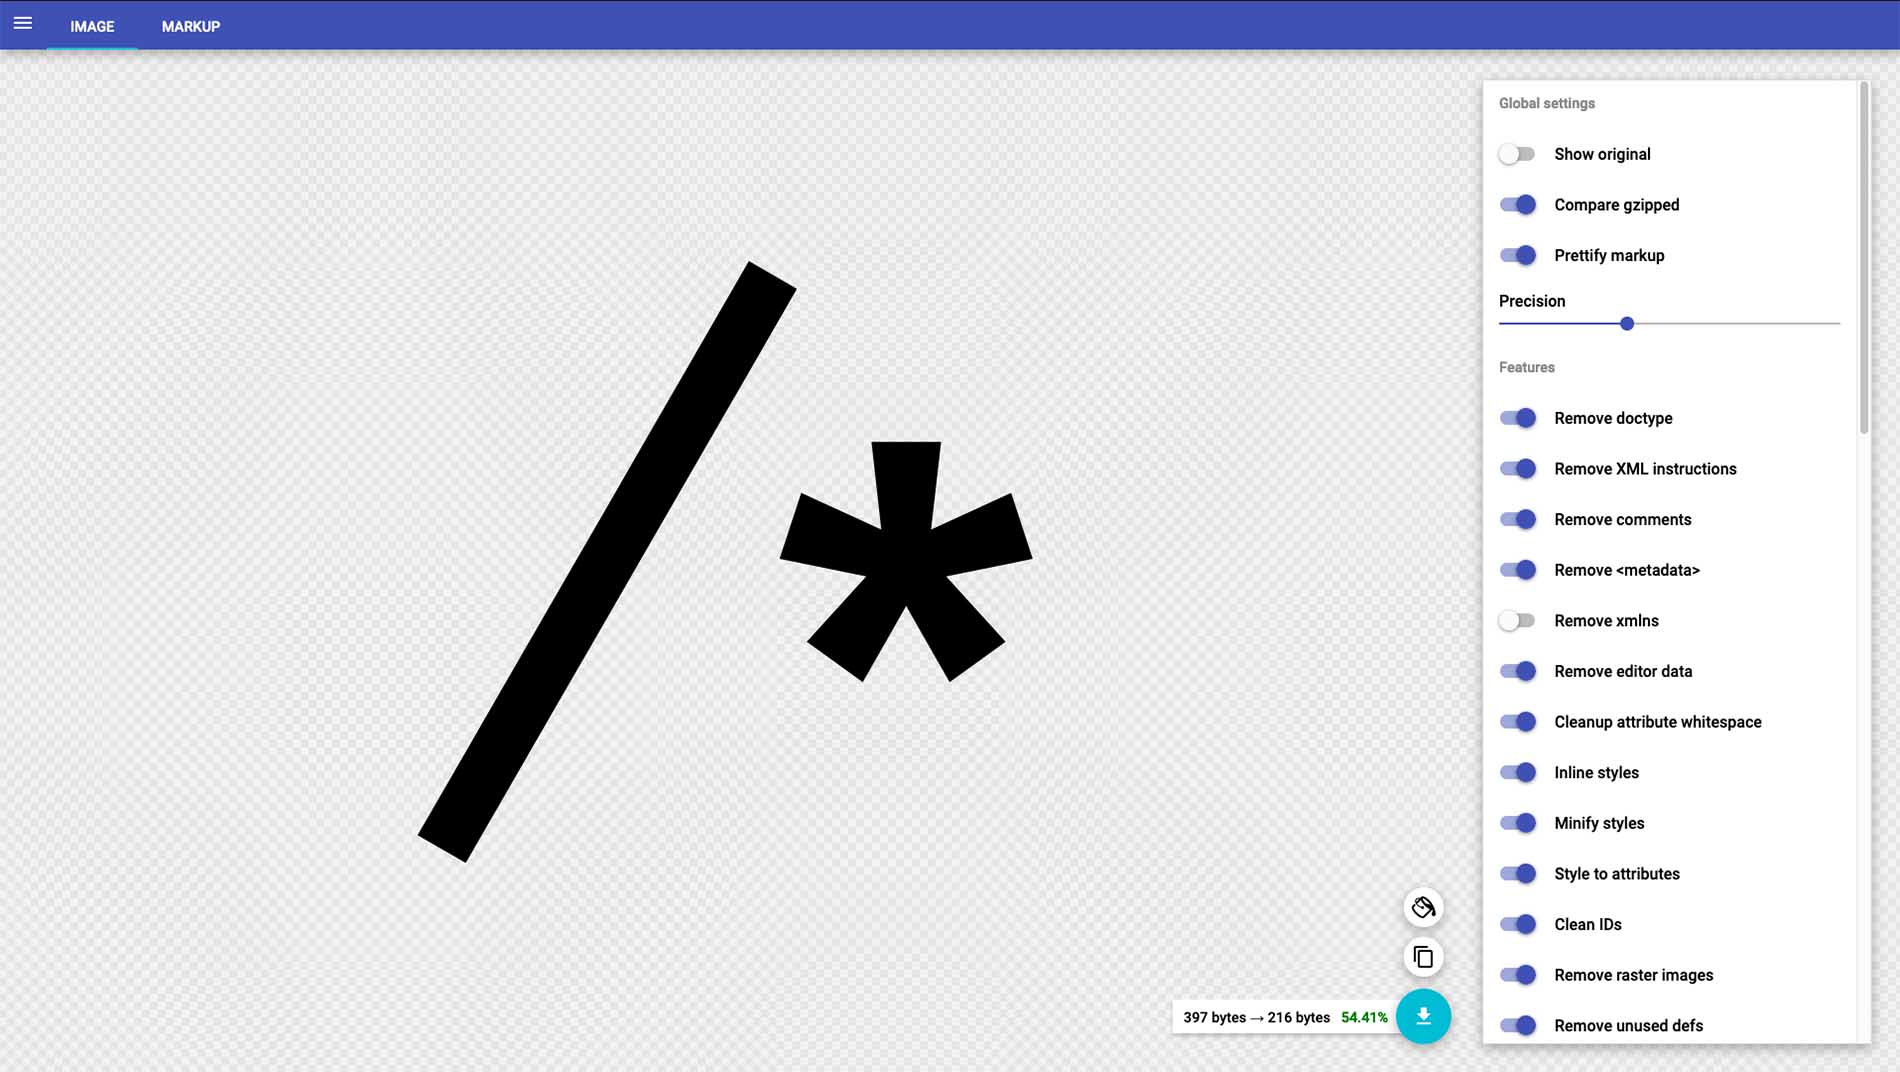
After running it through SVGOMG, the code looks like this:
<svg xmlns="http://www.w3.org/2000/svg" viewBox="0 0 620.2 606.5">
  <defs/>
  <path d="M0 578.5L334 0l48.5 28-334 578.5-48.5-28zM457.6 182.2h70.2l-10.1 88.2 80.7-37 21.8 66.7-87.3 17.6 59.9 65.8-56.4 40.7-43.8-76.8-43.8 76.8-56.4-40.7 59.9-65.8-87.3-17.6 21.8-66.7 80.7 37-9.9-88.2z"/>
</svg>
This is far better than leaving the graphic unoptimised, but it does contain an extraneous <defs/> element. And if the original SVG contains groups, layers and effects, then there is a limit to how far a tool like SVGOMG will be able to optimise it. Far better if we go back to our graphics program and make some edits before running it through an optimisation tool.
Editing the SVG
If you know how to write SVG code, then this might produce the cleanest, leanest result. Check out the MDN docs for a guide to drawing SVG paths, and this video by Heydon Pickering if you’re interested in learning more about it.
But for the vast majority of us, editing an SVG is only made practical using a visual tool. For this example I’m using Adobe Illustrator, but others like Sketch have similar editing capabilities.
How much code you can strip away by editing your SVG depends on its complexity, and its use case. The tips that follow generally apply to icons and simple graphics. Complex illustrations often cannot be edited to such a degree without affecting the end result – and, in some cases, may be better off as PNGs or JPGs.
Expand groups
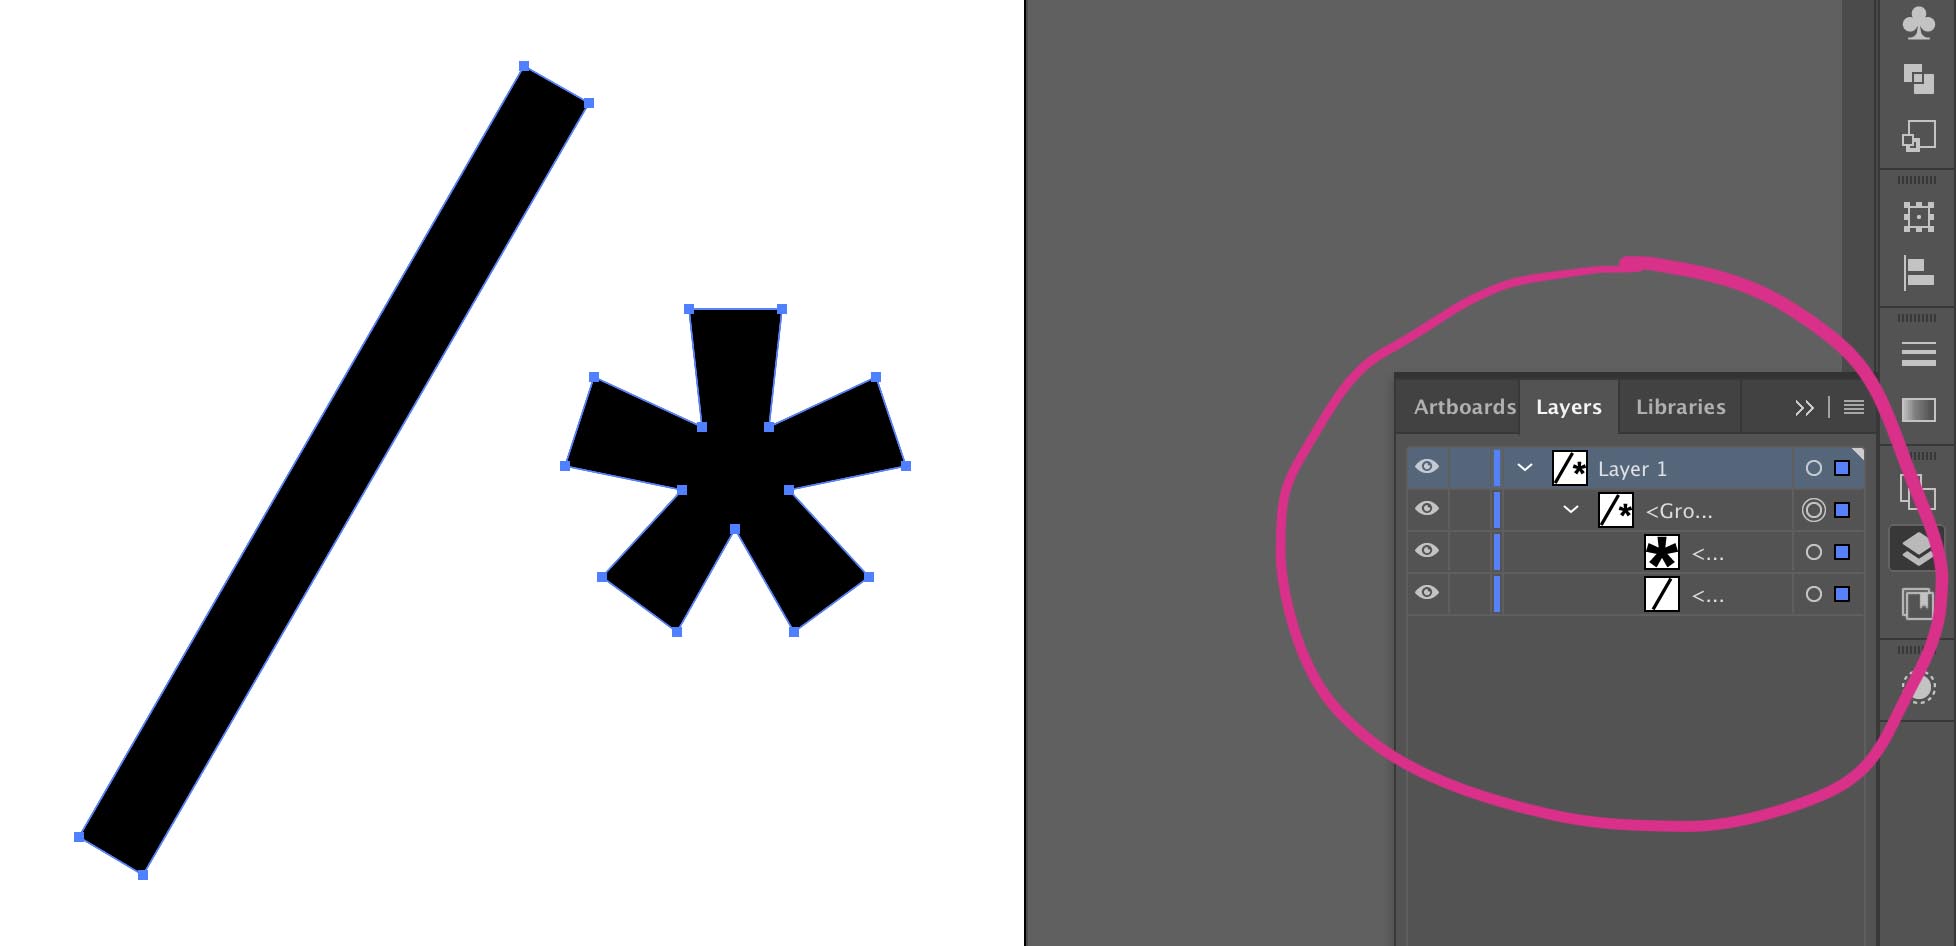
The first thing I do when optimising an SVG is remove any hidden layers, and expand groups where possible. This removes any <g> tags grouping paths in the SVG code. You might want to keep certain groups intact if you plan to style or animate them. You can expand a group in Illustrator using the shortcut Shift + CMD + G (Fig 03).
Convert to paths
Next I convert any strokes to filled paths, where possible (Fig 04). In Illustrator we can do this using Object > Expand. There may be some exceptions: if you’re styling or animating stroke-dasharray or stroke-dashoffset you’ll need to leave these intact, and likewise if you want to retain the stroke width when scaling the SVG.
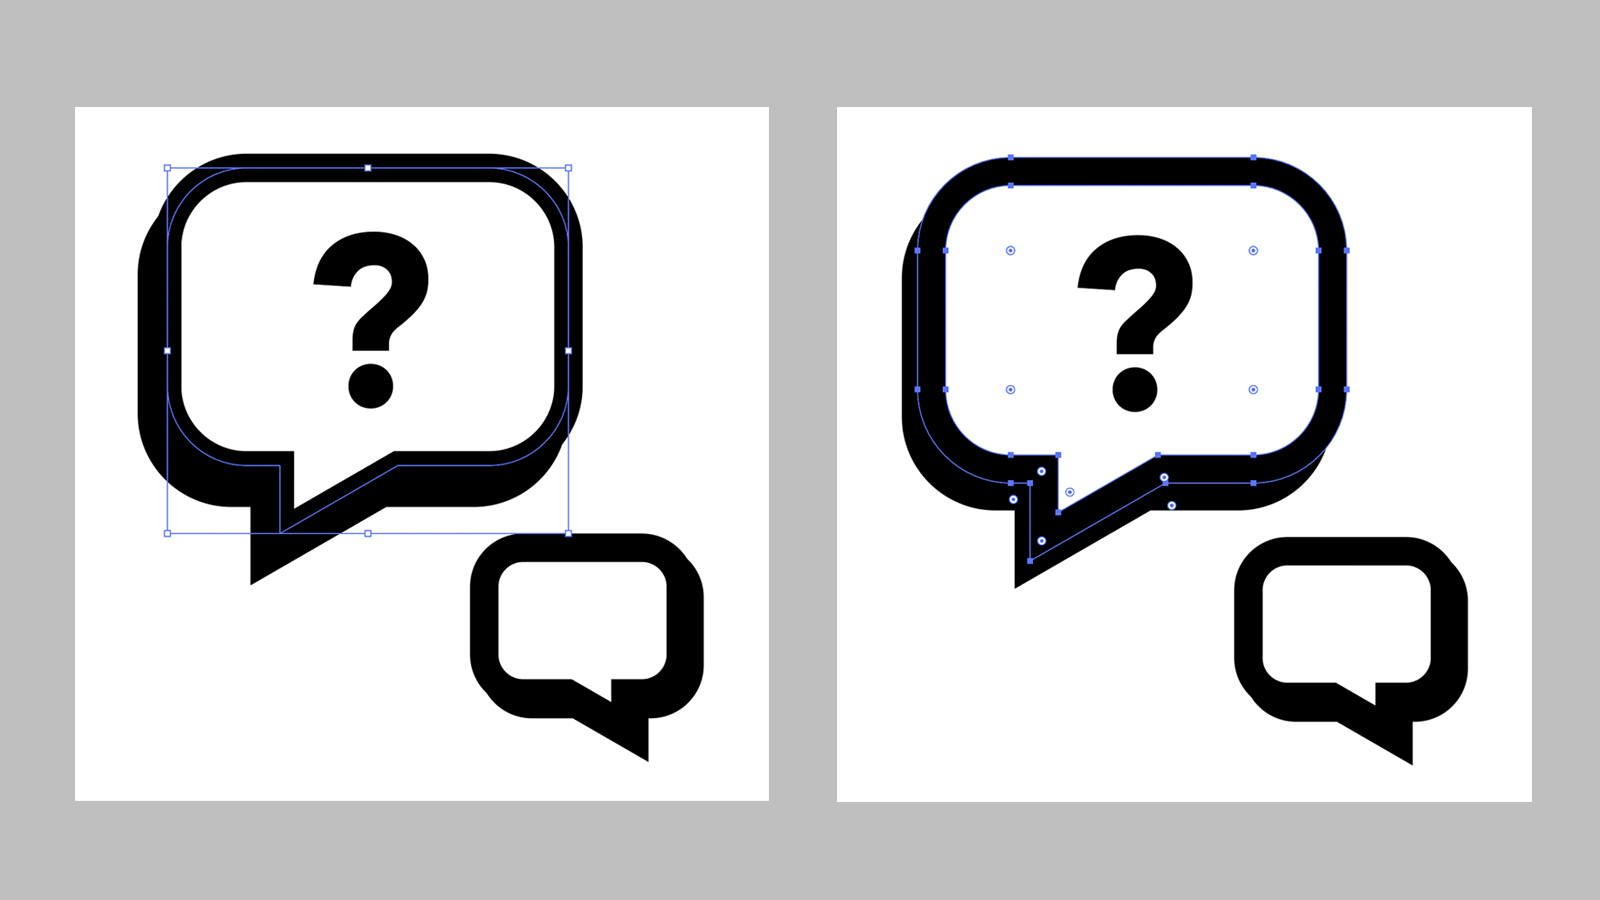
You can also use the Expand option in Illustrator to convert areas of the image such as simple patterns into individually-selectable paths. For complex or detailed patterns it may be best to avoid this.
Convert text to outlines
It is sometimes a good idea to convert text to outlines if the text is purely decorative, or the content will be communicated in another way, such as with a heading, button text or aria-label. While it is fine to make use of the SVG <text> element, it doesn’t always make sense to do so, particularly if you need to load another web font in order to display your SVG text. We can convert text to paths in Illustrator by selecting it and choosing Type > Convert to outlines.
Merge paths
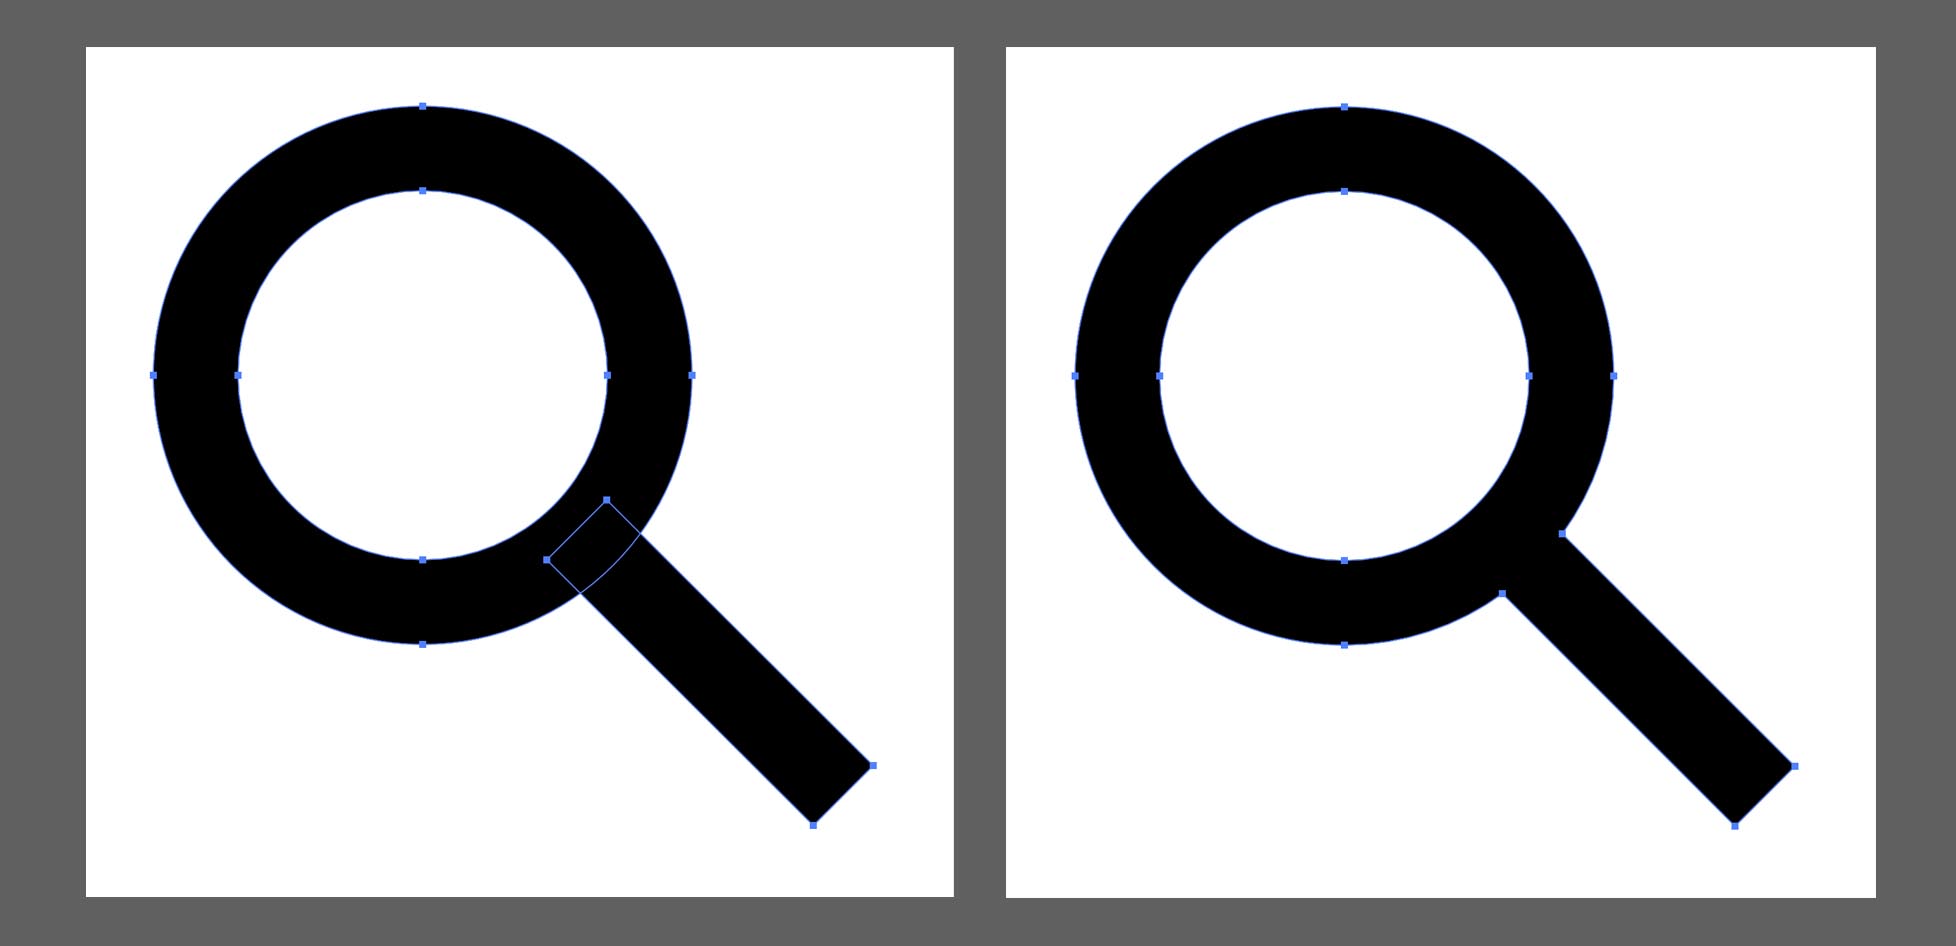
Now that everything in our SVG is a path, we can merge them to ensure as few paths are drawn as possible. Take this example of a “search” icon: the two intersecting paths can be merged into one, resulting in a single path (Fig 05).
To merge paths in Illustrator we select them and use the merge option in the Pathfinder menu.
The exception here is if we want to style or animate any paths individually – in that case we should avoid merging them.
Delete any extra paths or groups
Once the paths are merged I like to do one final check over the layers and remove any empty layers or duplicate paths that may have been created in the process.
Fit to artwork bounds
When I use the SVG icon in my HTML I don’t want to be left with extra space around it that I can’t get rid of. This would be the case if the SVG viewBox is larger than the contents. In Illustrator, I select Object > Artboards > Fit to artwork bounds to make the viewBox dimensions fit the artwork (Fig 06).

Exporting
Now we’re ready to save the SVG. In Illustrator we can select File > Save as and select SVG as the format. The next screen will give us some options for the SVG. I usually check “Presentation attributes” for the style options.
Once these steps are complete, the SVG is now ready to run through an optimisation tool. For icons, I can usually get away with checking most of the options in SVGOMG, once I’ve run these manual optimisations. You’ll notice the code is much cleaner and leaner! But even this doesn’t always remove everything it’s possible to remove. In the code below I’m still left with an empty <defs> element, so it’s worth doing one final manual clean-up and removing that in my code editor. Now the SVG is ready to use!
Using the SVG
SVGs can be used in a number of ways on the web, including:
- In an
<img>tag - In the
background-imageCSS property - Inline in the HTML
Sprites
For icons in particular, inline SVGs offer the most in terms of performance and flexibility, and best way to use them generally is to create a sprite. If you don’t want to do this manually, there are NPM packages available that auto-generate SVG sprites. Icomoon is an app that offers a similar service.
Then, when it comes to using them, instead of pasting in the whole SVG, we can reference them with the <use> element:
<svg xmlns="http://www.w3.org/2000/svg">
  <use href="#myIcon" />
</svg>
Because we’re using paths, we can use the following CSS to instruct all SVGs to inherit the current colour, rather than use the fill property – which, for an icon system, will help us write less code: An SVG icon used in a button will simply inherit the button’s text colour.
svg {
  fill: currentColor;
}
We’d need to remove the fill attribute on the SVG itself during the optimisation process in order to style it in this way with CSS.
Conclusion
This sounds like a lot of steps to take, but in fact the whole process takes surprisingly little time, if you know your way around your graphics program of choice. After a few tries it becomes muscle-memory. I like to optimise most my SVG icons in a batch at the beginning of the project, to make using them in situe much easier. It’s worth investing a little time upfront to make your graphics easier to work with down the road.
Learning more about SVG
Sara Soueidan is a well-known authority on all things SVG-related, and has published many in-depth articles on the subject, which you can find here. I thoroughly recommend reading them if you’re looking to increase your SVG knowledge.
Webmentions for this page
About webmentionsLikes: 0
Reposts: 0
Mentions: 2