I came across George Francis’ work recently, and am completely in love with his generative SVG characters — especially the googly eyes! What I particularly love about these is that they underline how generative art doesn’t have to be serious — it can be playful, whimsical and fun.
George also has a brand new website, which includes some exceptionally well-written tutorials on how you can get started with generative SVG art. Reading this one on generative SVG blob characters, it struck me as an ideal approach for a little generative project I had in mind.
The project
Recently I helped my 5-year-old son with a craft project to create some character cards. He’s not particularly keen on drawing, so getting him engaged in creative activities requires a bit of thought. We had a selection of coloured card (a palette of five or six colours). I drew shapes (circles, squares or triangles), and he would cut them out and stick them on a background, for the head and body of each character. Then he would draw on the eyes, mouth and limbs with a felt-tip pen.
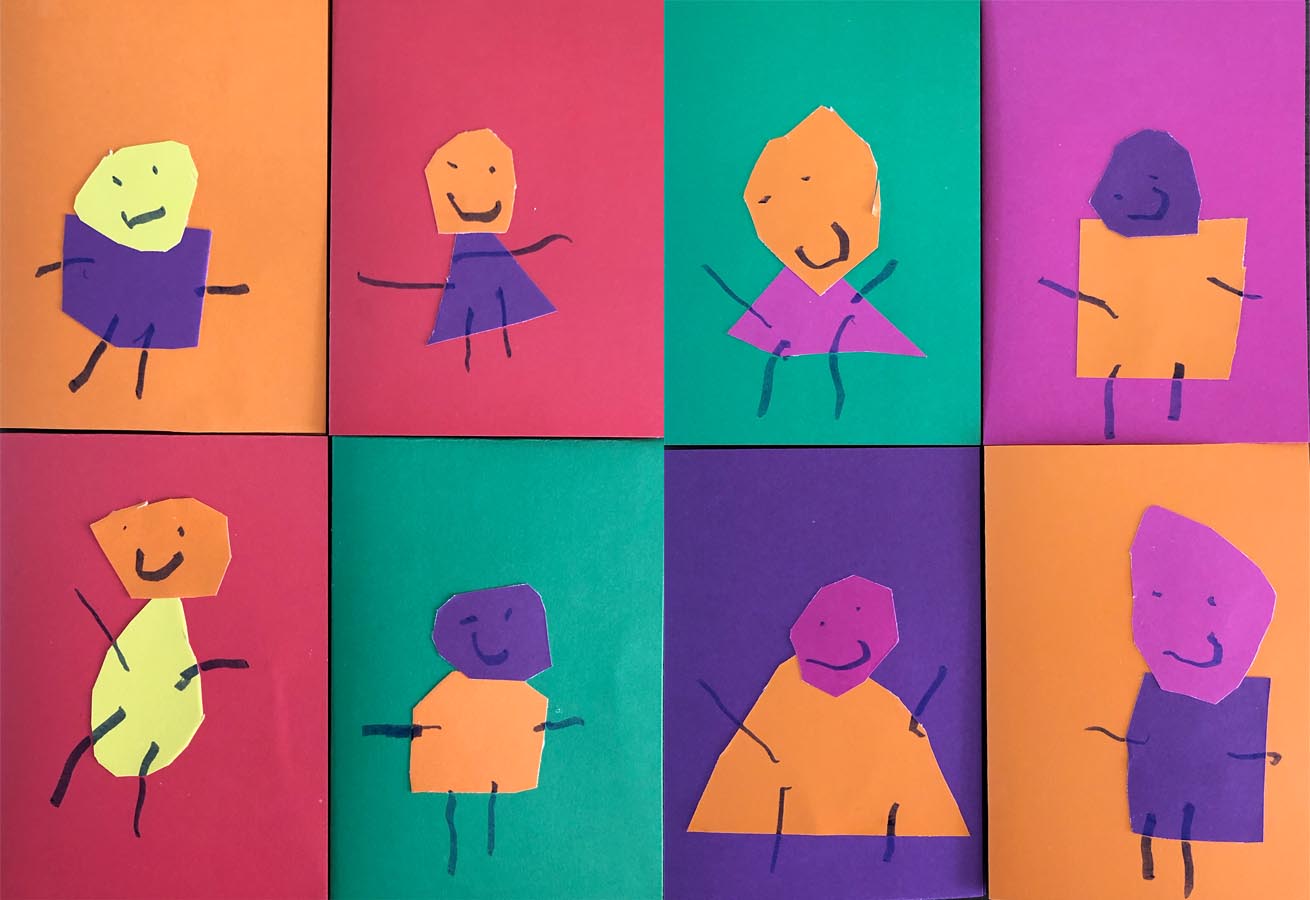
The premise was simple, and lends itself perfectly to generative art. Take some fixed parameters (a limited colour palette, a fixed background size, a small set of shapes), and add in a few random elements — in this case the cutting, sticking and drawing skills of a 5-year-old! It resulted in a lovely set of artworks, which I thought would be really fun to try and produce generatively.
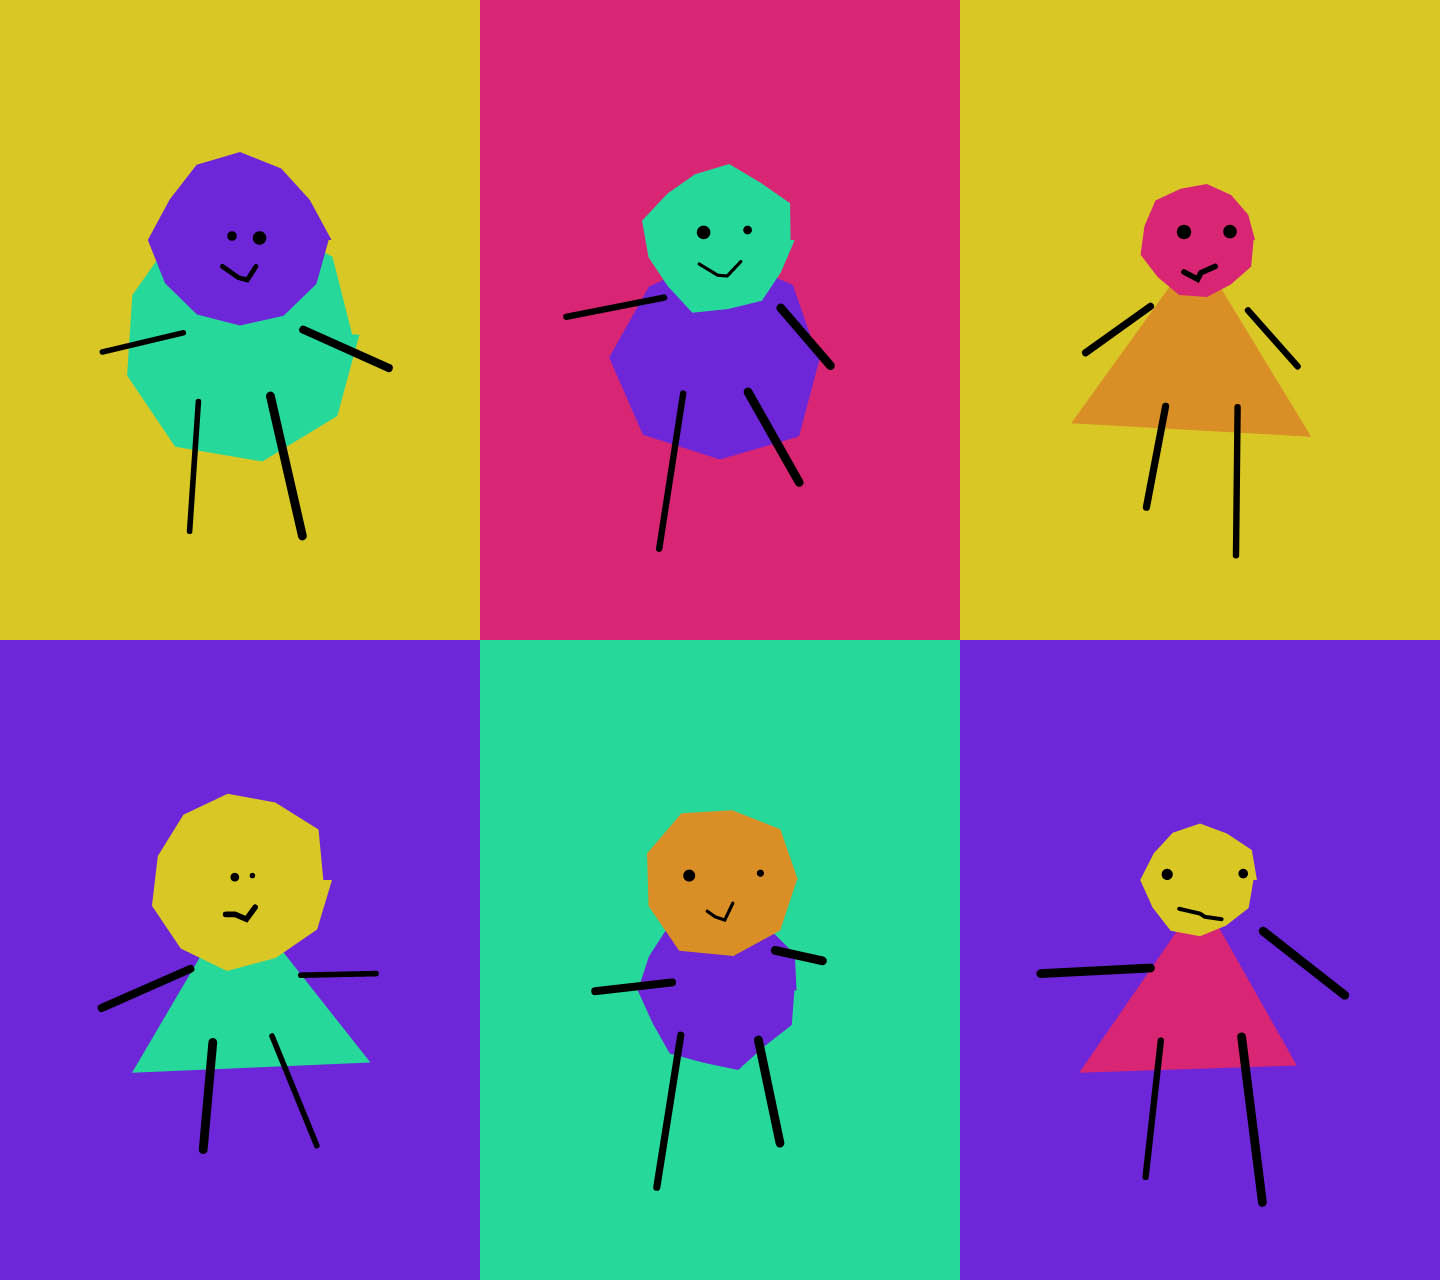
The generative version
Until I ready George’s tutorial, I had the vague idea that I would use SVG to create the generative characters. George’s art inspired me to get started, and the tutorial provided loads of useful tips that made the process so much easier than if I’d attempted it on my own.
SVG.js
SVG.js is a useful JS library for creating and positioning SVG elements, such as circles, rectangles, lines and polygons. It saves tons of time compared to creating an element and appending it to the DOM manually. I’ll definitely be reaching for this again in the future.
A handy random function
George’s random() function is super handy as it allows you to specify whether you want an integer or a floating point value:
function random(min, max, float = false) {
  const val = Math.random() * (max - min) + min

  if (float) {
    return val
  }

  return Math.floor(val)
}
I ended up using this all over the place to generate randomised properties of the characters.
Drawing the polygon
The heads and bodies of the characters are (vaguely) circular. To get the x and y path co-ordinates we can use some trigonometric functions (Math.cos() and Math.sin()) to plot these. Using George’s code, here’s how we would plot a regular polygon with 16 points:
const size = 300
const xPosition = 100
const yPosition = 100
const numPoints = 16

// step used to place each point at equal distances
const angleStep = (Math.PI * 2) / numPoints

// keep track of our points
const points = []

for (let i = 1; i <= numPoints; i++) {
  // x & y coordinates of the current point
  const x = xPosition + Math.cos(i * angleStep) * size
  const y = xPosition + Math.sin(i * angleStep) * size

  // push the point to the points array
  points.push({ x, y })
}
Try changing the variables in the following demo to change the polygon’s position, size and number of points.
See the Pen SVG polygon by Michelle Barker (@michellebarker) on CodePen.
In the tutorial, George use the random() function to add an element of variation to the polygon points, resulting in irregular shapes.
Instantiating with a class
I use classes a lot in my JS at work to create reusable component behaviours that can be instantiated at will. But not so much in my creative coding projects. Creating a class, as George does in this tutorial, is a great approach here. We can just instantiate it anywhere we want to add one of our generative characters.
Adaptations
While George’s code provided a great foundation to work with, I ended up making a few adaptations for my needs.
Colours
In my code, instead of fully randomising the colours, I wanted to have a limited palette from which to choose — just like having a selection of coloured card. So rather than generating colours randomly, I used a function to shuffle the array of colours and pick the first three. This ensures we get three different colour, rather than using the same colour twice within each character.
Shapes
George uses a spline() function to draw a smooth line the polygon shapes. This is great for creating the “blob” shapes that George uses, but for my characters I wanted to keep the jagged edges reminiscent of the real-life cut-out figures, so I didn’t end up using this function.
I also mixed up the shapes a bit to better reflect the real-life variations, by adding a trapezium shape into the mix — so each character will have a body shape based on either a regular polygon or a trapezium.
Here’s the full demo:
See the Pen Generative SVG paper people by Michelle Barker (@michellebarker) on CodePen.
Of course, you can read the full article, which I thoroughly recommend if you want to get started with your own generative SVG project.
Webmentions for this page
About webmentionsLikes: 0
Reposts: 0
Mentions: 2