This week the UK joined many other parts of the world in imposing a lockdown to battle the coronavirus (AKA Covid-19), and so we find ourselves in a pretty weird situation, to say the least. I hope you’re all keeping safe and taking care of yourselves and your loved ones out there. My heart goes out to those who have been personally affected, and to the incredible NHS workers on the frontline, who are fighting daily battles and risking their own health to keep us safe.
Personally, I find the best way to cope with such a big upheaval is to take control of the small things I can. As parents, my husband and I, like so many others, find ourselves juggling childcare while working from home now that our son’s preschool has shut down. I know he’ll miss his preschool routine, and with our range of activities severely curtailed, it’s time for us to get creative and come up with some ideas for fun games and activities to be played at home. I decided to make a weekday timetable, for us to populate with activities each week, to keep some semblance of routine. And, just for fun (and for extra motivation!), I made it an interactive web timetable.
Although it’s only a fun little project, there were some interesting decisions to make along the way. My favourite type of project is where I get to do some problem-solving and working with constraints. So let’s take a look at some of the practical considerations for building a timetable, and how they influenced the result.
Design
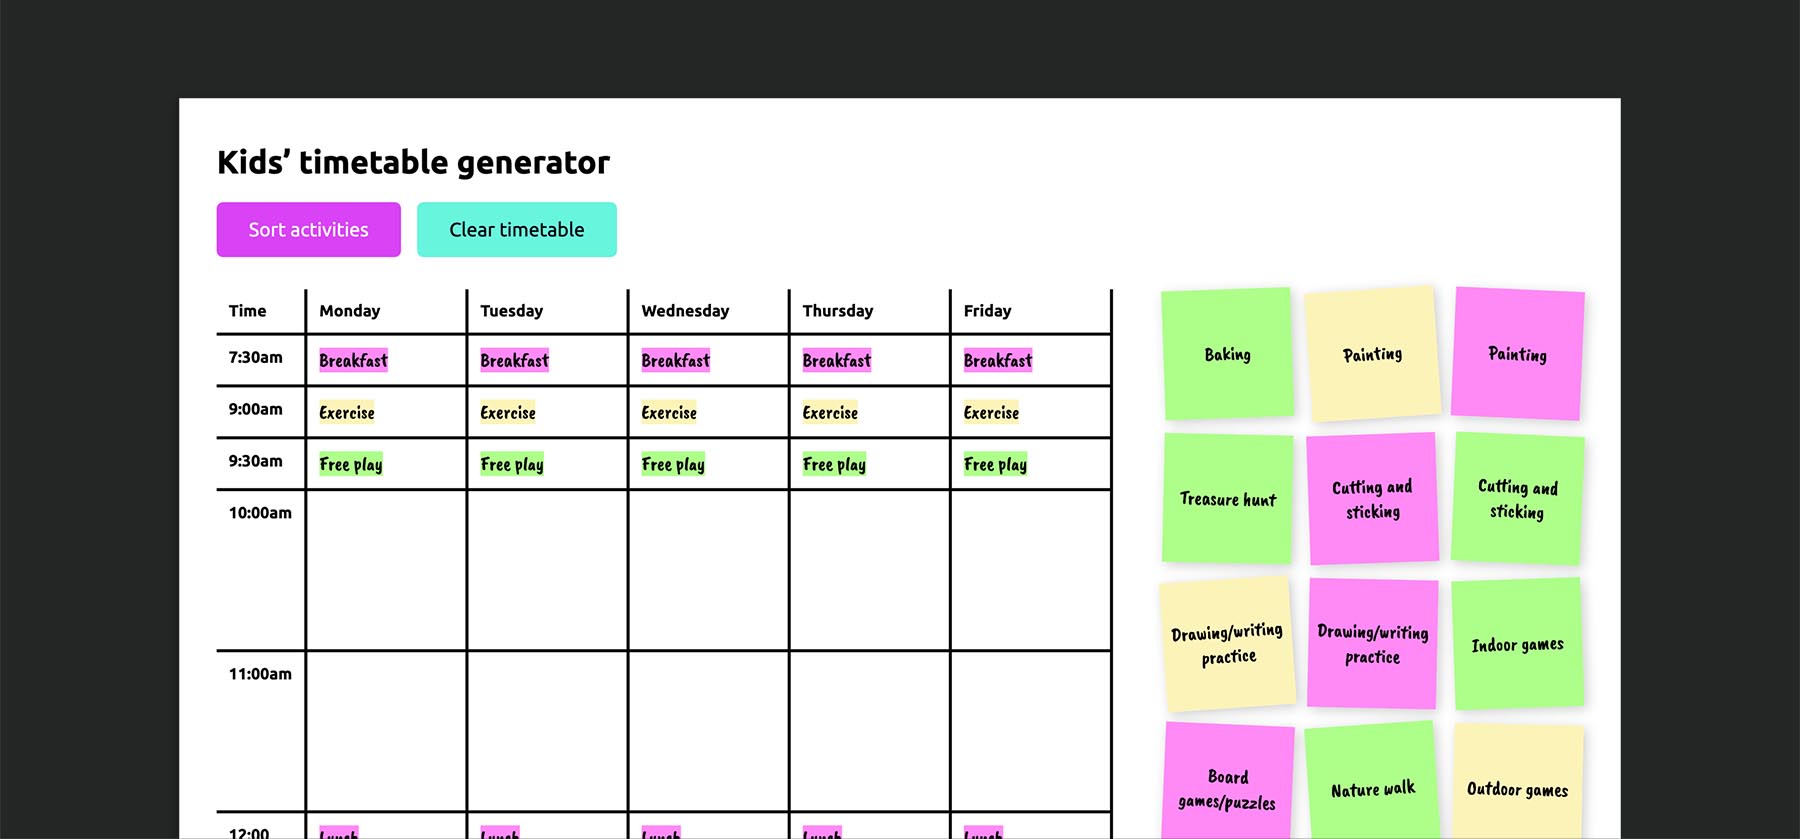
I designed my timetable to look a bit like a whiteboard, with post-it notes for the activities that we’re going to populate it with. These are lined up to one side to begin with, then when you click on a button the activities are randomised (to keep things interesting!) and moved into the timetable itself.
As you might expect, the timetable has the days of the week along the top (as column headings), and hours of the day along the left side. To make life easier, we’re splitting the day up by hour, and assuming each activity lasts an hour (or there abouts). There are a number of pre-populated time slots – breakfast and lunch happen at the same time each day, for example.
Tables and grids
The first consideration in any web project should be semantic HTML. If you’ve come across this blog before, you might already be aware that I’m a big fan of CSS Grid, and it’s often my layout method of choice. But in this case we’re building a table. CSS Grid is not the right choice for building a data table.
HTML <table> elements, when used correctly, give us the all semantics and layout we need for this purpose out of the box. To build a table as a grid, we would need to flatten the markup, removing the relationship of row and column headings to the content. Needless to say, this would be a disaster for accessibility.
Something you should never do is put display: grid on a <table>. This renders the table completely inaccessible to screenreaders. On first glance, you might think this is nonsensical anyway: grid items can only be direct children of a grid container, whereas table markup requires nested elements (<tbody>, <tr>, <td>, etc). But Subgrid (part of the CSS Grid Level 2 specification, and currently only supported in Firefox) makes it a little more tempting to do this. Subgrid allows grid items to inherit the parent grid – so you can have multiple levels of descendent elements, which all align to the grid of a common ancestor. It’s fantastically powerful for layout in general, but should not be used on <table> elements. The display property is one of those properties that alters the HTML semantics. Just don’t do it!
I did, however use Grid for the main layout and activities list, which is perfectly fine.
Structuring the table markup
Now that we’ve settled on using a <table>, we can add the basic markup before we populate it (we’ll need Javascript for that part). We need to ensure that only the empty table cells will be populated on the click of a button. We could look for only empty cells with JS – something like:
const cells = [...document.querySelectorAll('td')]
cells.filter((el) => el.innerText === '')
Once we’ve populated the timetable, however, those cells are no longer empty, so that’s not going to work if we want to sort the activities a second time. Instead, we can use a data-* attribute on the cells we want to target. This example shows two table rows, the first containing empty cells (with data-* attributes), the second with pre-populated content. (The <span> elements are just for styling purposes.)
<tr>
  <th scope="row">11:00am</th>
  <td data-cell></td>
  <td data-cell></td>
  <td data-cell></td>
  <td data-cell></td>
  <td data-cell></td>
</tr>
<tr>
  <th scope="row">12:00</th>
  <td><span>Lunch</span></td>
  <td><span>Lunch</span></td>
  <td><span>Lunch</span></td>
  <td><span>Lunch</span></td>
  <td><span>Lunch</span></td>
</tr>
Now we can select just the cells with need to populate:
const cells = [...document.querySelectorAll('[data-cell]')](We could use a class name instead of a data-* attribute for this purpose if we wanted.)
CSS
The activities are styled to look like post-it notes. The random colours and slight rotation of each one add to this illusion. We could style these using nth-child or nth-of-type pseudo-selectors, which would work fine to begin with. But when the activities are shuffled into random order on the timetable, this method of styling breaks down. What was originally the first child is now no longer – a post-it that was previously pink might end up green when added to the board.
We want each activity to keep it’s original styling when it’s moved over. The way I chose to tackle this is by using custom properties inline in the HTML for each item.
<div class="activity" style="--bg: #adff8a; --r: 1.25deg;">Outdoor games</div>By setting defaults in the CSS, we only need to change the custom property values when we want them to differ from the norm:
.activity {
  background-color: var(--bg, #fcf3b8);
  transform: rotate(var(--r, -2deg));
}
Making it interactive with JS
For simplicity’s sake, we’re going to assume that our list of possible activities matches exactly the number of available cells. That way, we just need a sprinkle of JS for our desired interactivity.
When we click a button we want the following to happen:
- Create a new array containing our activities (each one as a HTML element).
- Shuffle the array into a random order.
- Loop over the empty table cells and add an HTML element from our array into it.
- Remove the original list of activities (or hide them from view).
I don’t want to reinvent the wheel (also, I’m lazy), so to shuffle the array items I’m using a shuffle function from The Internet:
const shuffle = (array) => {
  let a = [...array]

  for (let i = a.length - 1; i > 0; i--) {
    const j = Math.floor(Math.random() * (i + 1))
    ;[a[i], a[j]] = [a[j], a[i]]
  }

  return a
}
I’m looping over the table cells using the forEach method, mainly because I hate writing for loops. First of all I’m removing any content that is already in the cell (in case we already populated it), then taking an HTML element from our array and inserting it into the cell. We can use the one with the corresponding index, to make sure we don’t add duplicates.
cells.forEach((el, i) => {
  el.innerHTML = ''

  if (i < activities.length) {
    el.innerHTML = `${activitiesList[i].innerHTML}`
  }
})
Then I’m hiding the original array by setting the display property:
listEl.style.display = 'none'We can put all that together in a single function:
const sortActivities = () => {
  const activitiesList = shuffle(activities)

  cells.forEach((el, i) => {
    el.innerHTML = ''

    if (i < activities.length) {
      el.innerHTML = `${activitiesList[i].innerHTML}`
    }
  })

  listEl.style.display = 'none'
}
There are many different ways we could go about this, and I won’t claim this is absolutely the most efficient methodology, but my goal here was “quick and easy”!
Lastly, I wanted to add another button to clear the timetable and start over. That part is nice and straightforward – just remove the HTML content of each table cell, and restore the visibility of the original activities list:
const clearTimetable = () => {
  cells.forEach((el, i) => {
    el.innerHTML = ''
  })

  listEl.style.display = 'grid'
}
Here’s the complete demo:
Wrapping up
Now we have a simple little interactive timetable. Although I’m planning on creating a real-life version soon (much more enjoyable for little kids, I think!), this one was lots of fun to build and helped me get inspired and motivated. If you’ve read this far, hope you’ve learnt something too.